Add a speech bubble to an image
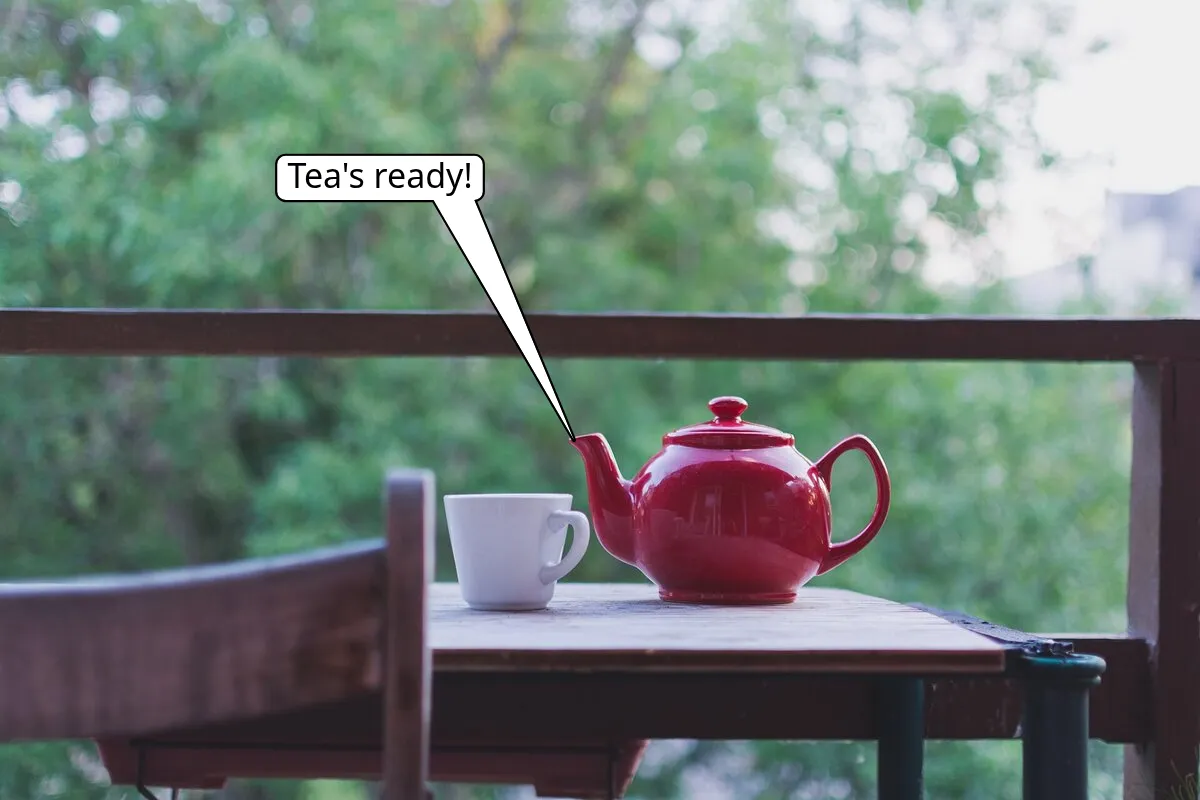
Point a speech bubble at someone in a photo, or at a detail in a screenshot, and type what it says.
How to add a speech bubble#
- Paste an image with Ctrl+V, drop a file on the page or press Load.
- Callout is already picked, at the start of the Text bar, and K picks it from any other tool. Press where the tail should point, drag to where the bubble should go and let go; a tap puts the bubble beside the spot.
- Type the words and press Enter. On a keyboard, Shift+Enter starts a new line.
- Undo a bubble with the undo button or Ctrl+Z, or revert any one of them from History.
- Copy with Ctrl+C, or save as PNG, JPEG or WebP.
Move the bubble or its tail#
With the callout tool, drag a bubble to move it, tail and all. To point the tail at something else, tap the bubble and drag the small square at the tail's tip. The bubble stays where it is, and the tail leaves it from the side facing the tip.
Change the words#
Double-click the bubble, or double-tap it on a phone, to edit its words. Enter keeps the change and Esc drops it. Delete every word, and the bubble goes too.
Colour, size and font#
A new bubble is white with black words and a black edge, so it shows on a light image and a dark one. The colour swatch sets the bubble's colour, and its words turn black or white, whichever stands out more. Only a white or near-white bubble has the edge.
The words start at a size that grows with the image: 40 on a screenshot 1,400 pixels wide, 115 on a 12-megapixel photo. Size changes it, and the bubble grows or shrinks with the words, as it does when you drag a corner of a selected bubble. Pick Sans, Serif or Mono from the Font list, and use the B button for bold. Set these before you add a bubble, or select one to change it. A colour or size you pick stays for the next bubbles, and for your next visit unless it's red or 28, the editor's own first colour and size. With red, the next visit's bubbles are white again, and with 28 they take the image's size again. With white picked here, the next visit's bubbles have the colour they had when you opened the page.
A label without the bubble#
Each bubble is a rounded box with a pointed tail, and there's no thought bubble or cloud. To keep the words without the box, pick Move (V), tap the bubble and pick Plain or Outline, the plain or the outlined A after Size. A line with a dot at its end then runs from the words to the spot, both in the bubble's colour, so on a light image give a white bubble another colour first. Box, the boxed A, brings the bubble back.
For a caption without a tail, add text to a photo. To point with an arrow, or to number the steps, annotate a screenshot.