Censor an image
Hide a face, a name, a number plate or an account number in a photo or screenshot before you share it. Cover it with a solid box, or pixelate or blur it. What a box covers is gone from the saved file.
How to censor an image#
- Paste an image with Ctrl+V, drop a file on the page or press Load.
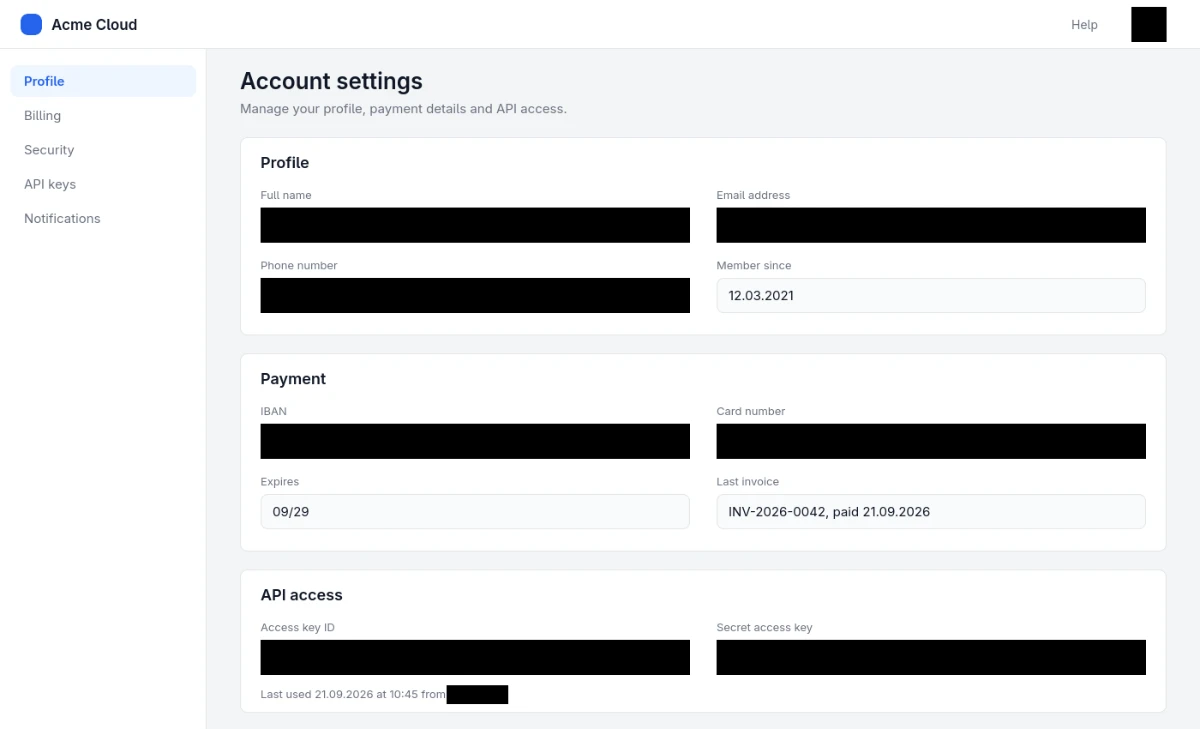
- The Shape tool is ready to draw solid rectangles. Drag a box over each part to hide, and pick its colour from the swatch (F). The undo button or Ctrl+Z takes back a box.
- Leave Fill checked on the bar, and the Opacity under the colours at 100%. Otherwise what's under the box shows through.
- Check the whole image, then copy it with Ctrl+C or save it as PNG, JPEG or WebP.
Box, pixelation or blur?#
A solid box replaces what it covers with one colour. Use it for text, as when you redact a screenshot: names, account numbers, passwords.
Pixelation turns the area into coarse blocks, each the average colour of the pixels it replaces. Large blocks hide a face or a number plate and make it plain that something was hidden. To pixelate part of an image, pick Blur (B) in the toolbar, then Pixelate on its bar, and raise the Block size.
A blur softens the area, for a busy background or a passer-by who should fade back rather than stand out. With the same tool in Blur mode, you blur part of a photo and set how strong it is.
Why only a box hides text#
Pixelated or blurred text can be partly read back. Each block keeps the average colour of the pixels under it, which a program can match against text pixelated the same way, and a light blur can be partly reversed. A box keeps nothing of the text. In a saved PNG, every pixel inside it is the box's colour.
Find faces or private details automatically#
On a screenshot, press the Find button that appears once it's open, or Find sensitive info on the Shape bar. Text recognition reads the image on your device and finds emails, phone and card numbers, IBANs and keys, but not names or postal addresses. With no model files stored, it needs 3.5 MB, and the page asks before downloading it.
On a photo of people, that Find button runs the same text finder. For the faces, pick Blur (B), then Pixelate on its bar, and press the Find faces button. It can miss a face turned away or half hidden. On the blur or pixelate faces page, the Find button that appears once a photo is open runs the face finder. Neither finder looks for number plates, so cover a plate with a box or large blocks.
Tap an outline to leave it out, then press the button with the count, such as Redact 7 or Pixelate 5. The text finder covers the rest with solid boxes, the face finder each face with an oval of its own.